Views: 9 Author: Site Editor Publish Time: 2024-08-21 Origin: Site


If you've ever wondered whether you can put PVC flooring over existing tiles, you're definitely not alone. It's a common query for homeowners seeking a quick and cost-effective way to upgrade their floors without the mess and hassle of tearing out the old tiles. Yes, you can install PVC flooring—more commonly known as vinyl flooring—over ceramic tile, provided some conditions are met.
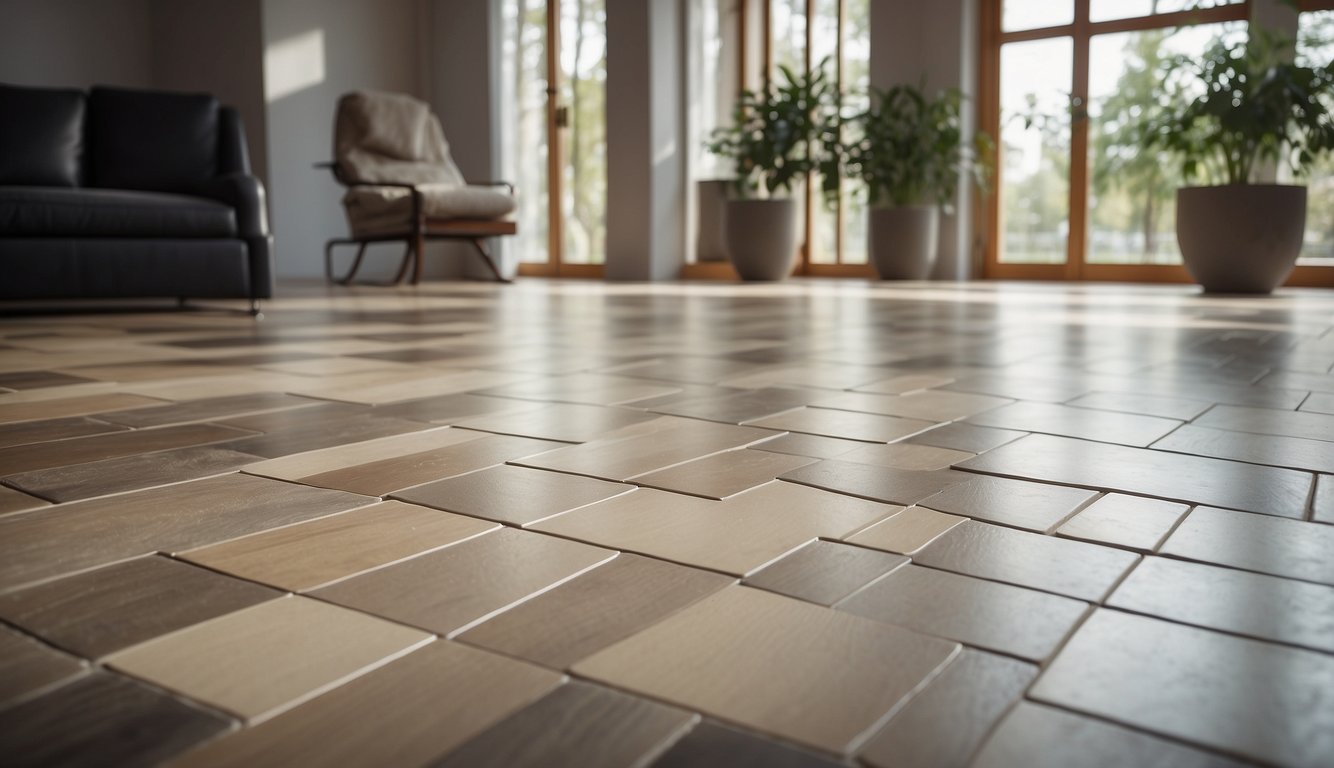
The process involves ensuring that the tile surface is smooth and level. Cracked or missing tiles must be fixed or filled in, and grout lines should be thin to avoid any unevenness in the vinyl surface. Vinyl plank flooring, in particular, offers a durable and stylish solution that can float over the tile, eliminating the need for adhesives.
By opting for vinyl over tile, you're making a practical choice that not only saves you time but also enhances the aesthetic appeal of your space. Trust us, once you see the transformation, you'll wonder why you didn't make the switch sooner.
Vinyl flooring can be installed over ceramic tiles with proper surface preparation.
Fix existing cracks and ensure grout lines are thin for a smooth installation.
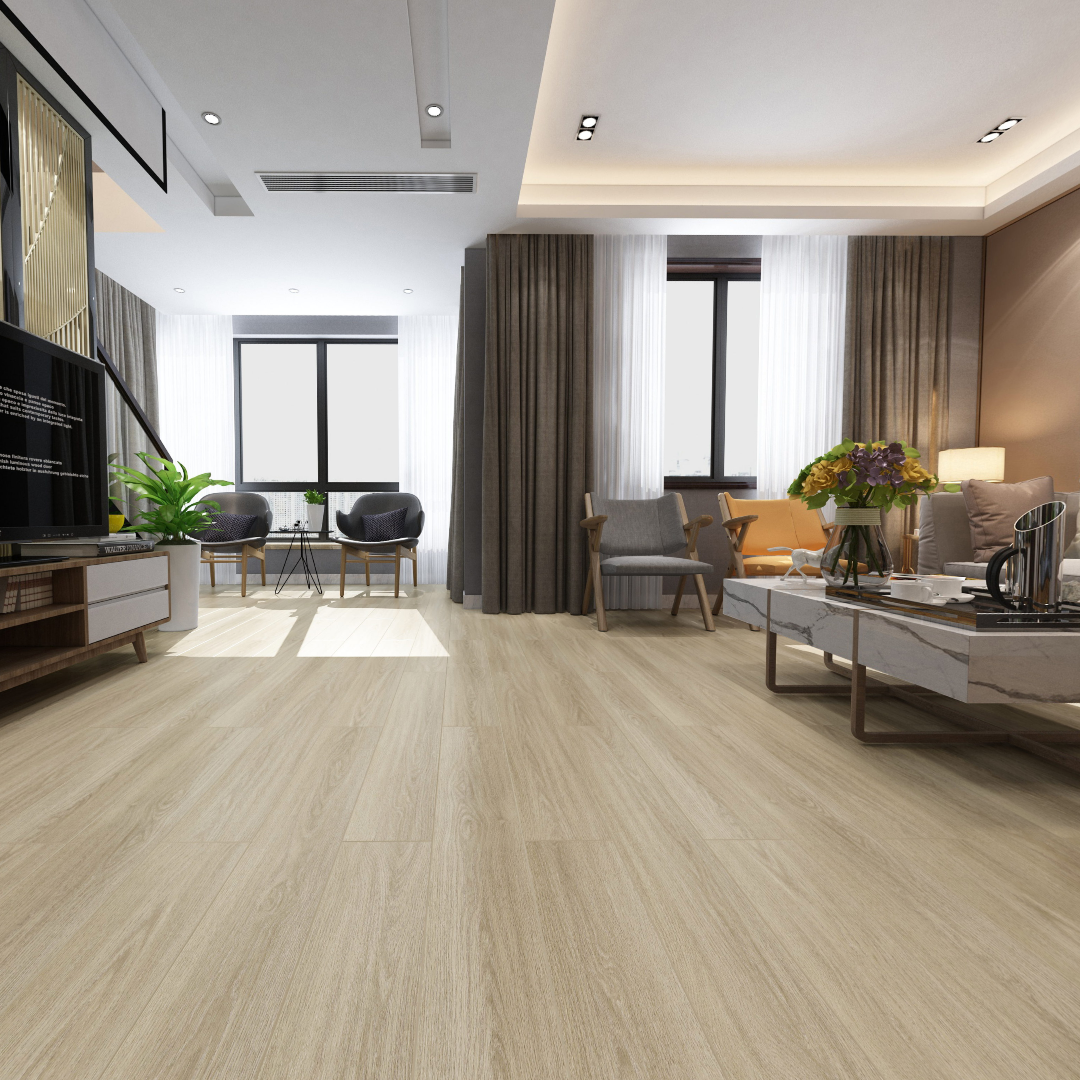
Vinyl planks offer a stylish, durable, and hassle-free flooring solution.
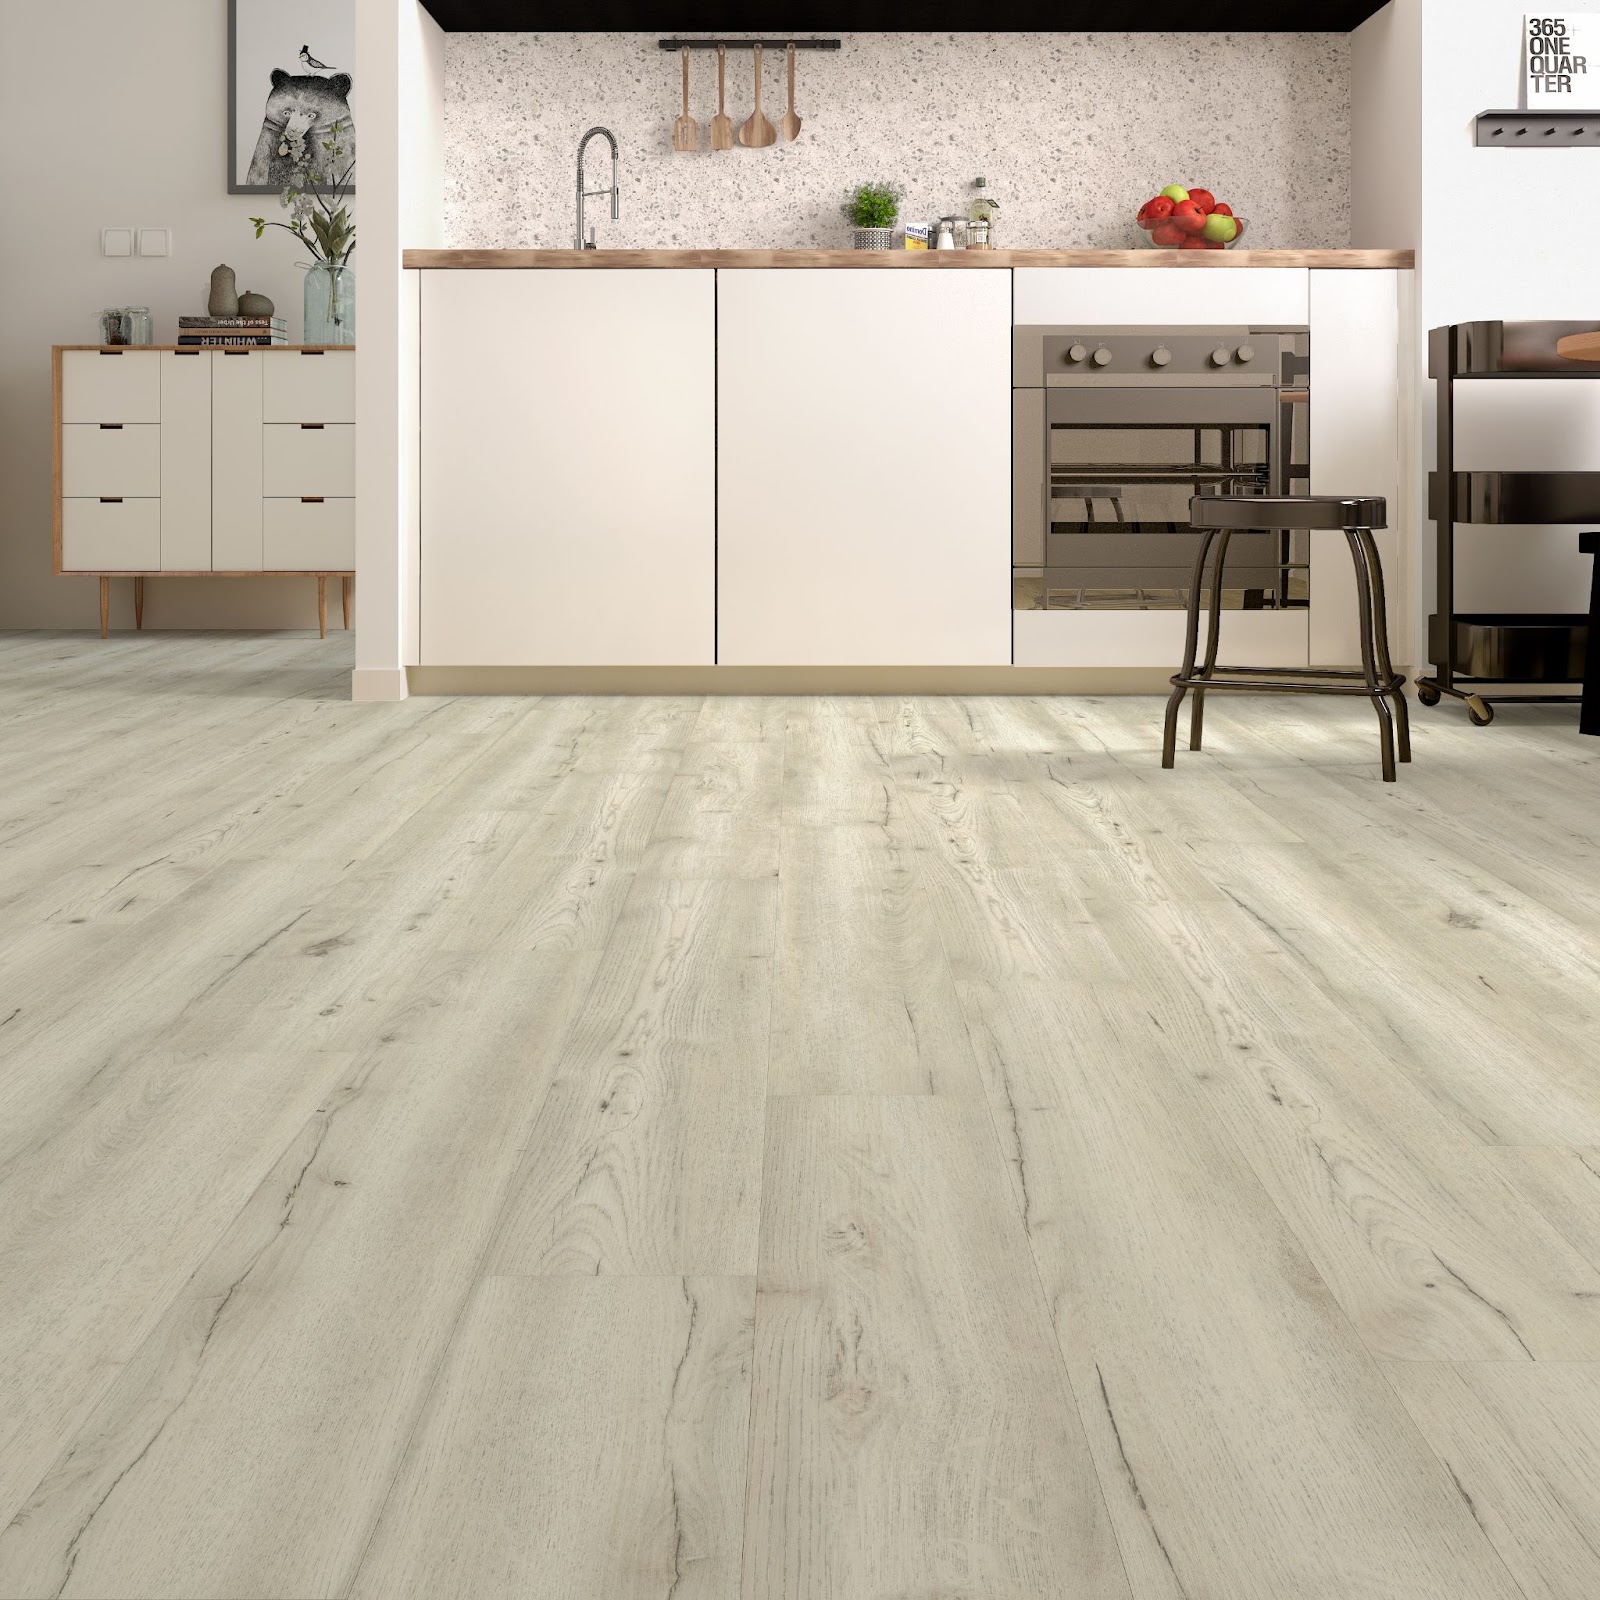
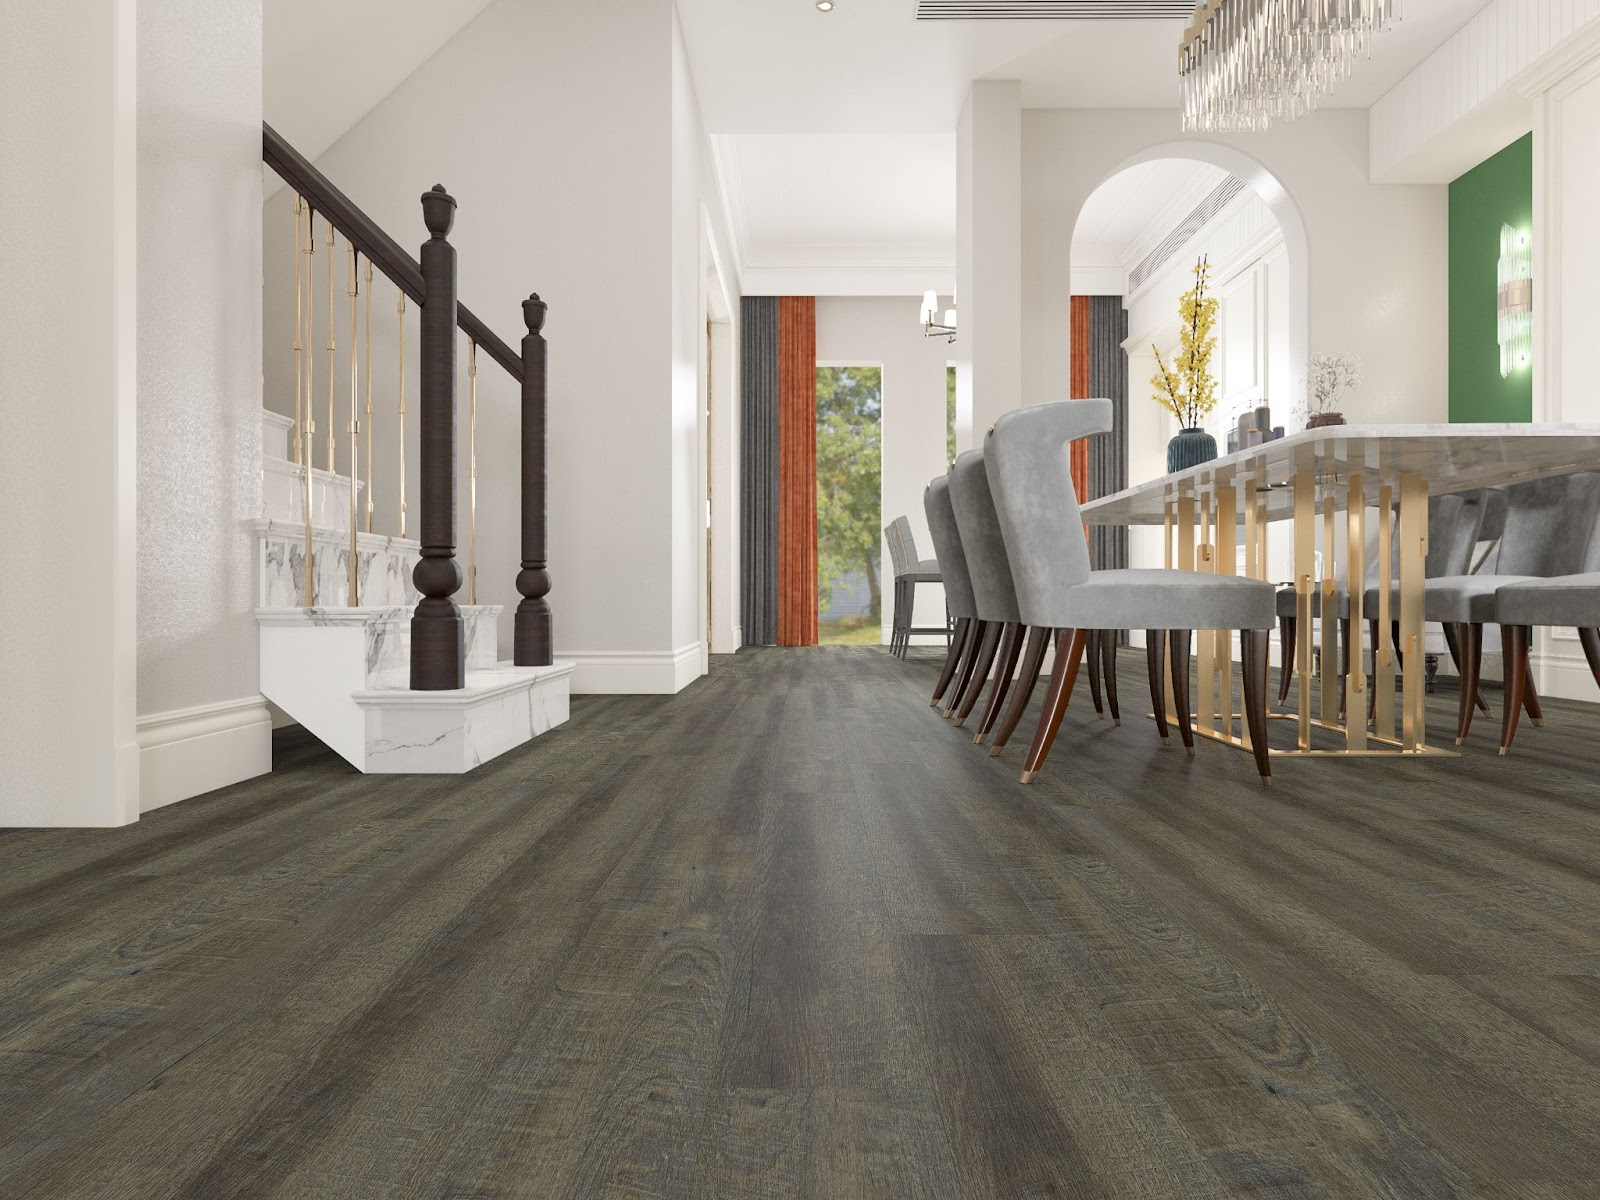
Luxury vinyl flooring is a popular choice for those looking to combine style with practicality.
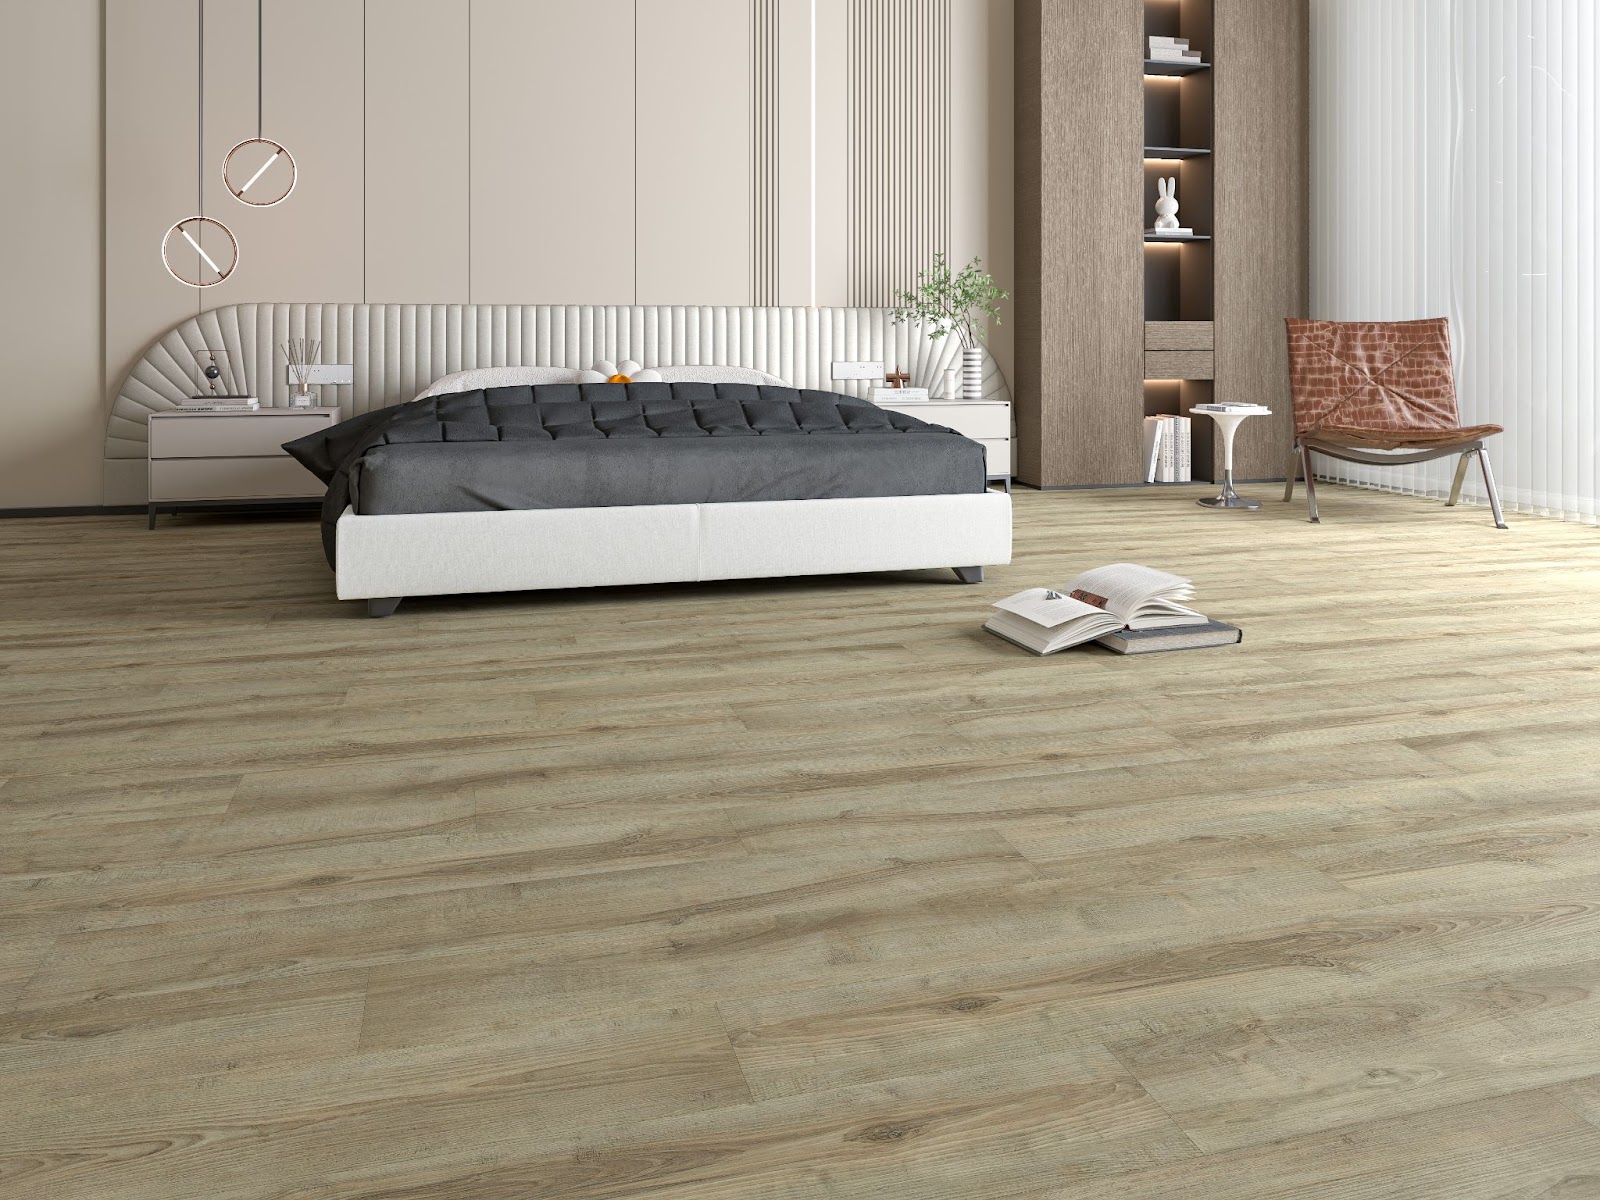
Luxury Vinyl Plank (LVP): LVP is designed to look like hardwood. Feel like upgrading your floors to those beautiful oak or walnut finishes? LVP has got you covered. It’s durable and often resists scratches and stains.
Luxury Vinyl Tile (LVT): LVT, on the other hand, mimics stone or ceramic tiles. Want that sleek marble look without the hefty price tag? LVT will give your space an upscale appearance.
Rigid Core Vinyl: If you're after something with enhanced durability, rigid core vinyl is the way to go. It has a solid core, making it more resistant to dents and heavy traffic.
Easy Maintenance: Just sweep or mop, no special treatments needed!
Variety: Available in numerous designs, from wood to stone finishes.
Cost-Effective: Gives you the high-end look without breaking the bank.
Durability: Great for areas with heavy foot traffic.
We also should mention sheet vinyl flooring, which comes in large, flexible sheets. It’s generally more affordable and provides a seamless look suitable for bathrooms and kitchens.
*Vinyl tiles and vinyl planks are individual pieces that can be replaced if damaged, adding to their convenience.
That’s the lowdown on luxury vinyl flooring. It's versatile, stylish, and built to last—making it a top choice for many homeowners.
Absolutely, we can install vinyl flooring over existing ceramic tile.
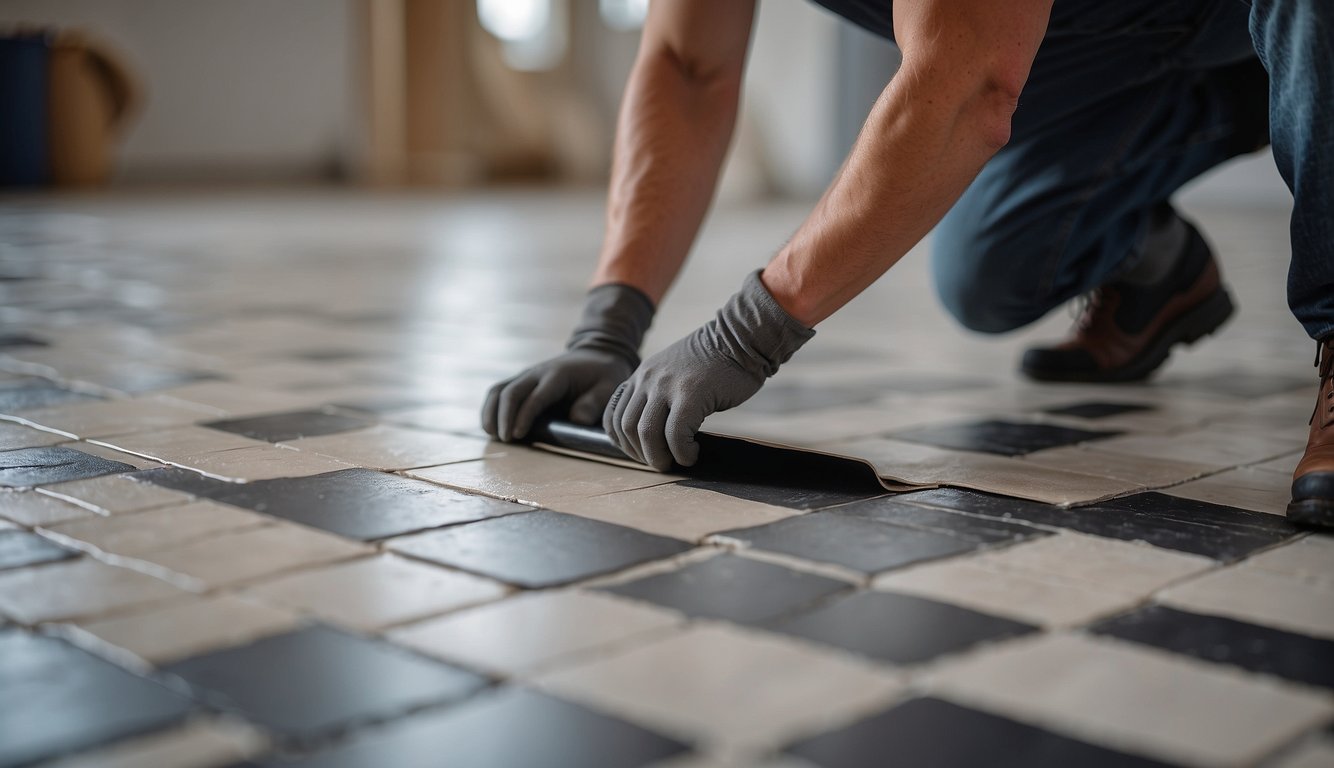
First things first, let's ensure that the ceramic tile surface is clean and level. Any loose or broken tiles? We need to remove those and patch the empty sections with some liquid cement or mortar.
If the grout lines are deep, we'll regrout to make them flush with the tile surface.
How important is surface preparation? It's huge! Think about it. If the surface isn't smooth, you might see those imperfections coming through your beautiful new vinyl flooring. Nobody wants that.
Cleaning: Ensure that the tile is free of dirt, grease, and any other debris.
Levelling: Use a leveling compound if necessary to smooth out any areas that need it.
Ever tried sticking something to a rough surface? Not easy, right? The same goes for vinyl flooring. We might need to lightly sand the tile surface with fine-grit sandpaper. This helps the adhesive grip the tile better.
Let’s take a look at a real-world example. One homeowner transformed their kitchen by installing vinyl over tile. They followed the preparation steps religiously and chose a high-quality adhesive. After laying the vinyl, the new flooring looked fantastic and has lasted for years.
Here's a quick rundown of their process:
Removed loose tiles and patched with liquid cement.
Regrouted deep joints to make them flush.
Sandpapered the tile surface to improve adhesion.
Applied the adhesive as per the manufacturer’s instructions.
Installed the vinyl planks and enjoyed their new floor.
Remember, if the room is subjected to inconsistent temperatures or the floor is uneven, gluing the vinyl down can help it last longer.
So, yes, it's entirely feasible to install vinyl flooring over existing ceramic tiles. Just make sure to prep, prep, prep!
Have you ever thought about why we shouldn't just rip up the old tile when installing PVC flooring? Let's dig into it.
Tile removal is time-consuming. The process can take several hours, even days, depending on the area size. Plus, it's labor-intensive, often requiring specialized tools and a lot of elbow grease.
Cost is another factor. Removing tiles isn't just about the labor. We also need to think about transportation and disposal fees. These costs can add up quickly and might exceed our budget.
Removing tiles is messy. Imagine the dust and debris flying around, settling on every surface. This creates a lot more work, as we have to clean up after the demolition.
Instead of removing tiles, we could consider different approaches.
Using an underlayment can smooth out imperfections in the existing tile, making it easier to lay the PVC flooring. This method is less intrusive, cleaner, and faster.
Gluing down the PVC flooring directly over the tile is another option. This works well if the tiles are in good condition and the grout lines are minimal.
Repair damaged tiles by fixing or filling in cracked or missing tiles. This ensures a uniform surface for our new flooring.
So, what do you think? Wouldn't it be easier to install PVC flooring over the existing tiles instead of dealing with all the hassle of tile removal?
When it comes to putting PVC flooring over tile, hiring a professional installer can make a world of difference.
Expertise: A professional brings a wealth of experience and knowledge. They know how to avoid common mistakes, such as misaligned tiles or improperly spread adhesive. This expertise ensures the flooring looks great and lasts longer.
Cost: On average, professional installation of vinyl flooring costs between $3 to $7 per square foot. While this adds to the overall project budget, the investment can save money in the long term by avoiding costly errors.
Alright, let's talk DIY vs. Professional Installation.
Professional Installation:
Pros:
Proper installation techniques
Use of professional-grade materials
Warranty on labor and materials
Cons:
Higher initial costs
Scheduling flexibility may be required
DIY Installation:
Pros:
Cost savings on labor
Flexibility to work on your schedule
Cons:
Potential for errors
No warranty or professional support
So, is it worth it? If we want peace of mind, flawless installation, and longevity, a professional is the way to go. For those of us who are confident in our DIY skills and want to save on costs, tackling the project ourselves can also be rewarding.
Sure, tile is classic and all, but let’s be honest—why stick with it? Here are a few reasons to consider moving on from those stone or ceramic floors.
Cold Underfoot
Tiles, especially stone and ceramic, can be chilly. Walking barefoot in the kitchen on a winter morning? Brr, no thanks! Vinyl or engineered wood can add warmth.
Maintenance Woes
Tile requires regular grout cleaning. Those lines love to collect dirt. Imagine not having to scrub grout again. With vinyl, there’s no grout, just smooth, easy-to-clean surfaces.
Cracks and Chips
If a tile cracks, it stands out like a sore thumb. Fixing it means finding a matching tile, which might be a wild goose chase. Vinyl or laminate flooring can better withstand wear and tear, making them a practical choice for home renovations.
Height Issues
Adding new flooring over existing tile increases floor height. This might affect door swings or transitions between rooms. In kitchens and bathrooms, this could be particularly annoying.
Limited Aesthetic
Tiles can limit your design aspirations. While they may work for certain looks, they may not suit modern or evolving tastes. Using vinyl allows for a plethora of designs, from wood to stone finishes, giving us more flexibility.
Smoother Transitions
Remodeling with a new floor type like engineered wood or laminate eliminates uneven transitions. It also aligns with modern, seamless design trends.
Cost and Labor
Tile removal can be costly and time-consuming. Keeping the existing flooring means we save on labor and material costs. Plus, installing vinyl is quicker—average time is just 4 to 6 hours.
Long story short, our tile floors might be holding us back. New flooring options like vinyl, engineered wood, and laminate offer easier maintenance, design flexibility, and warmth.
Vinyl flooring offers significant benefits when installed over tile. From hassle-free maintenance to budget-friendly savings, here's why it’s a smart choice for many homeowners.
Vinyl plank flooring is known for its easy care and durability. Unlike tile, which requires grout maintenance and is prone to chips and cracks, vinyl resists scratches, scuffs, and dents. It’s also water-resistant and can be cleaned with just a simple mop or vacuum. This makes it perfect for busy households that don't have time for extensive floor upkeep.
One of the best parts of installing vinyl over tile is that you don't need to remove the existing tiles. This not only saves time but also significantly lowers the cost and mess associated with demolition. Plus, it's a durable and effective way to update the look of your floor without a major renovation project.
The cost-effectiveness of laying vinyl over tile can't be overstated. Since you skip the demolition process, labor costs are reduced. Vinyl itself is also a budget-friendly option compared to other types of flooring. With a range of designs and styles available, you can achieve a high-quality look without breaking the bank.
Installing vinyl over tile is a relatively quick process. On average, it takes about 4 to 6 hours to install vinyl flooring tiles, whereas other types of tile materials might take 8 to 10 hours. This means minimal disruption to your daily life. The quick installation ties back to both time savings and reduced labor costs.
One of the hidden benefits of vinyl is that it's easy to remove if you ever decide to change your flooring again. Unlike more permanent options, vinyl can be taken up without much hassle, making it a flexible choice for those who like to update their home's decor frequently. This adds another layer of cost-effectiveness and convenience to choosing vinyl over tile.
While laying vinyl over existing tiles can be a convenient and cost-effective solution, there are a few drawbacks to keep in mind. We'll discuss some notable issues, such as baseboard height, installation challenges, the need for transition strips, the feel underfoot, and potential damage to existing tiles.
One issue we might encounter is that our baseboards could appear shorter once the vinyl is installed. This happens because adding a layer of vinyl flooring raises the floor level.
This change may cause gaps between the floor and the baseboards, and adjusting the baseboards' height can be labor-intensive. We might also face the need to repaint or refinish them to match the new height, which could add to the overall cost and effort involved in the project.
Installation issues can be quite common and problematic. If the vinyl isn't laid correctly, it might lead to uneven flooring or bubbles. It's critical to ensure that the tiles beneath are in good condition and level.
Any cracks or missing tiles should be repaired to avoid worsening the issues. If not addressed, these problems can lead to premature wear and tear on the vinyl, ultimately reducing its lifespan and causing potential damage to the floor.
When adding vinyl over tile, there's a chance we'll need transition strips between rooms. These strips help manage the height difference between floors, but they can sometimes interrupt the visual flow of the space.
Inconsistent floor heights may pose a tripping hazard and make moving furniture across rooms more difficult. Additionally, choosing the right transition strip that matches the flooring properly can be tricky, adding another layer of complexity and potential costs to the project.
Vinyl flooring feels different from tile underfoot. Depending on the type of vinyl chosen, it might feel softer or less stable than the tiles underneath.
Some people prefer the solid, firm feel of tile, so the change could be uncomfortable for them. Thicker vinyl options can minimize this difference, but they also increase the floor’s height further, complicating issues with baseboards and door clearances.
Removing the vinyl later on could damage the tiles beneath. The adhesive used to glue the vinyl down can be particularly stubborn, often resulting in cracked or chipped tiles if removal becomes necessary.
This could pose a significant problem if we want to restore or maintain the original tiles. The removal process might require professional help, adding to the overall cost and effort involved, making it a less ideal option for those hoping to preserve their existing flooring.
When considering putting vinyl over other floor coverings, it’s important to ensure that the existing floor is suitable for such an installation. Key areas to focus on include the sturdiness of the current floor, the seamlessness of tiles or materials, the absence of holes or imperfections, dryness, embossing, and height considerations.
First, we need to check if the existing flooring is sturdy and solid. This means the subfloor must be in good structural shape, free from shifting or sagging. For those with a wood subfloor or plywood, stable floor joists are essential. If the floor has any weak spots or makes noise when walked upon, these issues must be resolved. We could fix this by adding extra screws or replacing damaged sections of wood.
A seamless or tightly seamed flooring surface is crucial. Grout lines, for example, should not be too deep. If they are, they’ll need to be regrouted to bring them flush with the tiles.
Deep seams or gaps may cause the vinyl flooring to settle unevenly, which can lead to visible lines or imperfections on the surface of the new floor. Ensuring tight seams between tiles or other floor coverings will provide a smooth base for the vinyl.
Before installing vinyl, ensure there are no holes or other imperfections in the current floor. Any damaged sections must be repaired. This includes small cracks or holes, which can be filled with a suitable cement or mortar.
Fixing these imperfections ensures that the vinyl will adhere properly to the subfloor and create a smooth, even surface. Small bumps or dips must be dealt with to prevent them from showing up in the finished product.
Moisture is one of the biggest enemies of vinyl flooring. The underlying floor must be completely dry. If there has been any moisture issue or water damage, it should be resolved before proceeding.
A moisture test is essential, especially for concrete subfloors. If moisture is detected, use a moisture barrier before installing the vinyl. This step prevents potential mold and mildew problems down the line.
If the existing floor has embossing (textured surface), it could show through the vinyl. The smoother the substrate, the better the vinyl will lay. For heavily embossed floors, use an embossing leveler to level out the surface.
A smooth surface ensures the vinyl will adhere properly and look its best. Depending on the level of embossing, sanding down may also be required to achieve the desired smoothness.
Lastly, consider the height of the new floor. Adding vinyl over an existing floor raises the floor height, which could affect doors and transitions to other rooms. Measure the added height, typically 2mm to 8mm, and check if it will create any issues.
It might be necessary to trim the bottoms of doors or adjust thresholds. Ensuring the new height works with your space will help avoid any functional or aesthetic issues in your home.
By following these criteria, we can successfully install vinyl flooring over existing coverings, ensuring it looks great and lasts a long time.
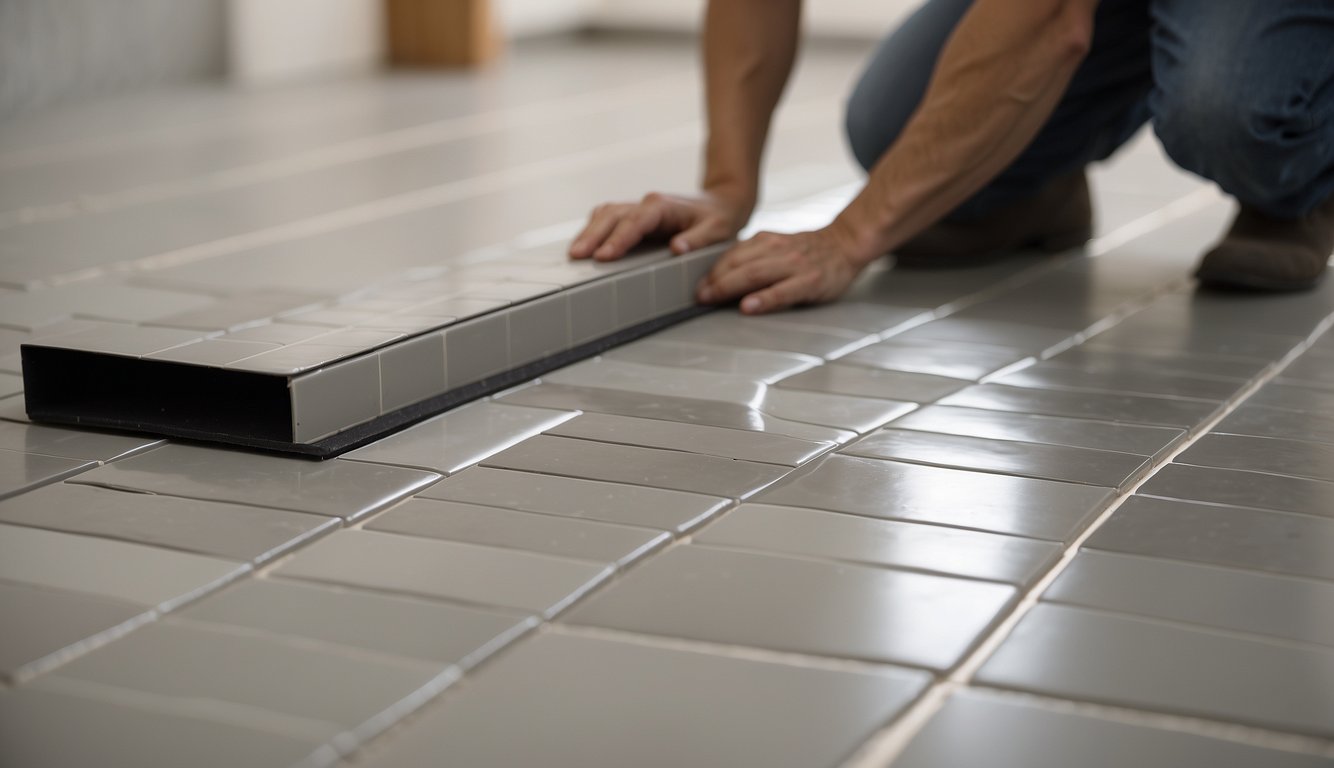
Installing vinyl plank flooring over tile can refresh your space with a new look. Each step of the process aims to ensure a smooth, long-lasting finish that adheres well.
Before anything else, we need to make sure our vinyl planks are ready to be laid. First, place your vinyl planks in the room where they will be installed for at least 48 hours. This helps them adjust to the room temperature and humidity levels, reducing potential issues like warping.
Make sure the room stays at a stable temperature (between 65°F and 85°F) during acclimatization. Stack the planks loosely in small piles to allow air to circulate.
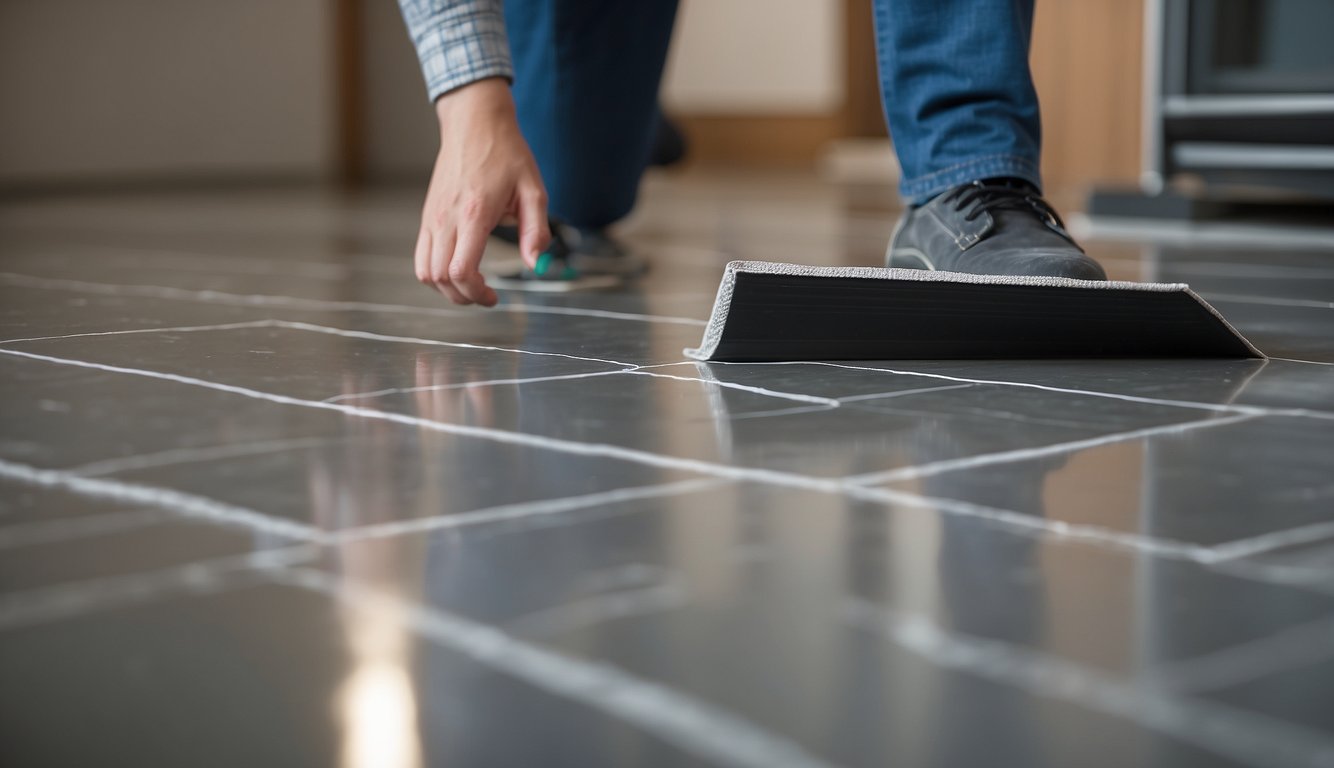
Next, we must prepare the tile surface. Start by cleaning the tiles thoroughly to remove any dirt, grease, or residue. Inspect for any loose or broken tiles and secure or replace them. For deep grout lines, fill them with a leveling compound to create a smooth surface.
Use a fine-grit sandpaper to lightly sand the tile surface, improving the adhesive's grip. Vacuum the dust and wipe with a damp cloth to ensure a clean slate.
For adhering the vinyl to the tiles, choose an adhesive recommended by your vinyl plank manufacturer. Using a notched trowel, spread the adhesive evenly across a small section of the floor.
Carefully lay the vinyl planks onto the adhesive, pressing down firmly. Use spacers to maintain a small gap between the planks and the walls for expansion. Continue this process, working in manageable sections to ensure precision.
We need to make sure the planks fit perfectly in the space. Measure the room dimensions accurately and cut the vinyl planks to fit using a utility knife. Mark your cuts with a pencil for precision.
Trim pieces around obstacles like door frames or vents. If required, use a leveling tool to ensure even placement. Make sure each piece is securely adhered to the surface.
Once all planks are laid, sealing the edges is crucial. Apply a bead of silicone caulk or grout sealant around the room's perimeter, including where walls meet floors and around any fixed installations.
This prevents moisture from seeping under the planks, protecting against water damage. Use a rubber float to smooth the sealant evenly, ensuring a clean finish.
To wrap up, let's focus on the final details. Remove any spacers and install transition strips at doorways to link the new flooring with adjoining surfaces.
Check for any raised edges or imperfections and address them promptly. Clean the floor to remove any adhesive residue and enjoy your new vinyl plank flooring.
Sweeping and Mopping: Let’s start with the basics. To keep our vinyl floors looking fabulous, we should sweep them daily to get rid of dirt and debris. Mopping once a week with a damp mop and a mild cleaner will help maintain their shine. It’s crucial to avoid excessive water to prevent any damage to the adhesive.
Furniture Pads: Nobody likes scratches and dents on their pristine vinyl floors. We can use furniture pads under the legs of our chairs, tables, and other heavy items to prevent these issues. Trust us, it’s a small investment for long-term protection.
Rugs and Mats: Placing rugs and mats in high-traffic areas, like entryways and hallways, can drastically reduce wear and tear. Plus, they add a cozy touch to our home decor. Make sure they have a non-slip backing to keep them in place.
Periodic Inspections: Every few months, let’s take a close look at our floors. Checking for any signs of damage, such as scratches, dents, or areas where the adhesive might be failing, can save us from bigger issues down the road. Early detection is key.
Repairs: If we do spot any damage, addressing it promptly is essential. Whether it’s a simple scratch or a loose tile, quick repairs will help maintain the longevity of our floors. Keeping some extra tiles and adhesive on hand can be a real lifesaver.
Since we’re dealing with tiles underneath, making sure our vinyl flooring is kept dry is crucial. Moisture can seep through and cause mold or mildew growth, which is not something we want to deal with. Wipe up spills immediately and ensure our home is well-ventilated.
Considering adding a layer of cork underlay before installing our vinyl floors can help with soundproofing. It acts as a buffer, reducing noise and adding an extra layer of softness underfoot. This can make our home more comfortable and quiet.
Keeping these tips in mind ensures that our luxury vinyl floors over tiles remain beautiful and durable for years to come.
There are several key considerations to keep in mind when laying PVC flooring over existing tile including pros and cons, common issues, and specific installation tips. Below, we've answered some of the most frequently asked questions.
Pros:
Easy Installation: Laying vinyl over tile can be done quickly, sometimes within a few hours.
Cost-Effective: It's a low-cost alternative to installing new ceramic or marble flooring.
Low Maintenance: Vinyl is easy to clean and resists scratches, scuffs, and dents.
Cons:
Preparation Needed: Cracked or broken tiles must be repaired, and grout lines may need leveling.
Limited Lifespan: Vinyl generally has a shorter lifespan compared to materials like tile or wood.
Indeed, some common issues can arise:
Grout Lines: If not leveled, they can show through the vinyl.
Tile Condition: Broken or loose tiles can affect the vinyl's stability.
Moisture: Ceramic tiles can sometimes trap moisture, which can affect the adhesion of PVC.
To ensure durability:
Level the Surface: Fill in deep grout lines and repair any damage.
Clean Thoroughly: Ensure the tile surface is clean and dust-free before installation.
Use Underlayment: Installing an underlayment can provide extra stability and moisture protection.
Yes, there are potential issues:
Height: Laminate can add to the floor's height, complicating door clearances.
Movement: Unlike vinyl, laminate requires a stable subfloor to avoid movement that can cause gaps or damage.
Moisture: Laminate is more susceptible to water damage, so it's not ideal in moisture-prone areas.
Handle grout lines by:
Leveling Compound: Use a leveling compound to fill and smooth out deep grout lines.
Regrouting: Another option is to regrout tiles to bring the joints flush with the tile surface.
Thicker Underlayment: This can help to mask minor grout lines and provide a smooth base.
Several good options include:
Vinyl Plank Flooring: Easy installation and budget-friendly.
Laminate Flooring: Offers the look of wood but requires careful installation.
Engineered Hardwood: Adds a touch of elegance but is more expensive.